"Bulk Edits" of Header Fields Using CSV
Last updated: November 4, 2026
Export inspection header data, make your changes in a spreadsheet, and import the CSV into PIONEER to update existing inspections.
Before You Start
Keep a copy of the original export
Use no more than 200 inspections per file
Use one project and inspection type per update file
Keep each inspection's sid unchanged
The sid is PIONEER's inspection identifier. It is different from a pipe segment reference or an external asset ID. Missing or unmapped sid values can create new inspections.
Export the Data
Filter the Inspections page to the records you want to update.
Open Customize columns and add the fields you want to change.
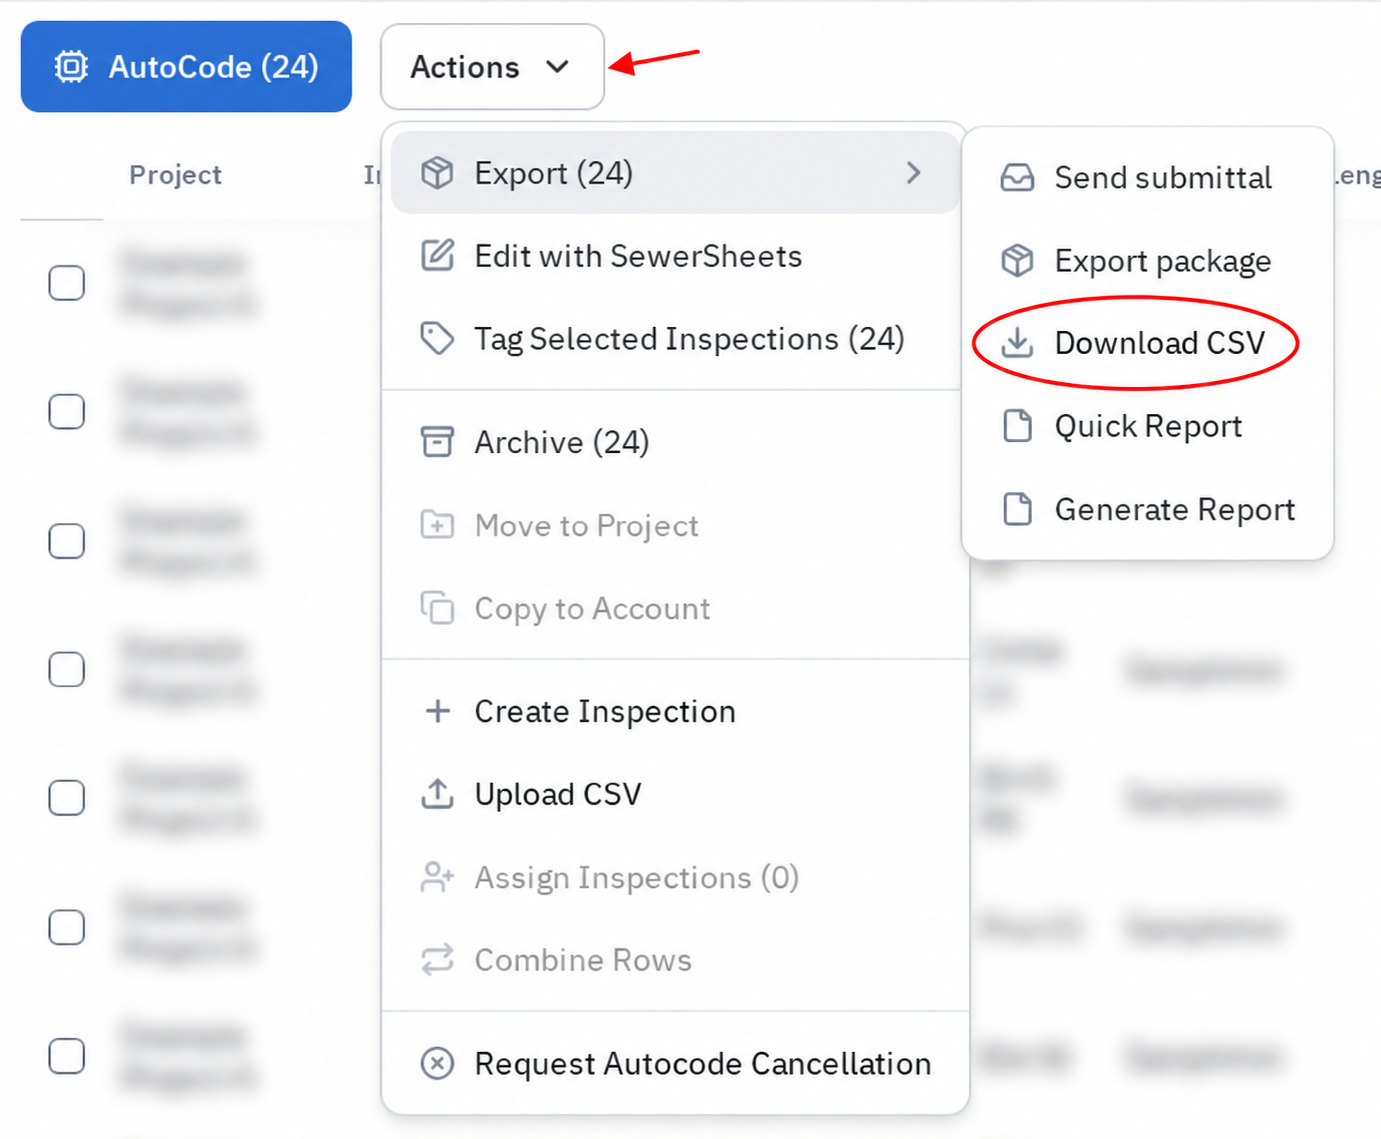
Open Actions, then Export, then Download CSV. If your page has a separate Export button, choose Download CSV there.
Edit the CSV
Keep the sid column.
Remove rows you are not updating.
Keep only the header fields you intend to change.
Enter the replacement values.
Use the expected NASSCO codes and letter case for coded fields. For example, the Purpose code for Post-Rehabilitation Survey is C.
Use this process for replacement values. For help clearing existing values, contact Support with the inspection links and fields involved.
Open the CSV Importer
Open Actions and select Upload CSV. In the separate-buttons layout, use the three-dot menu and select Upload CSV.
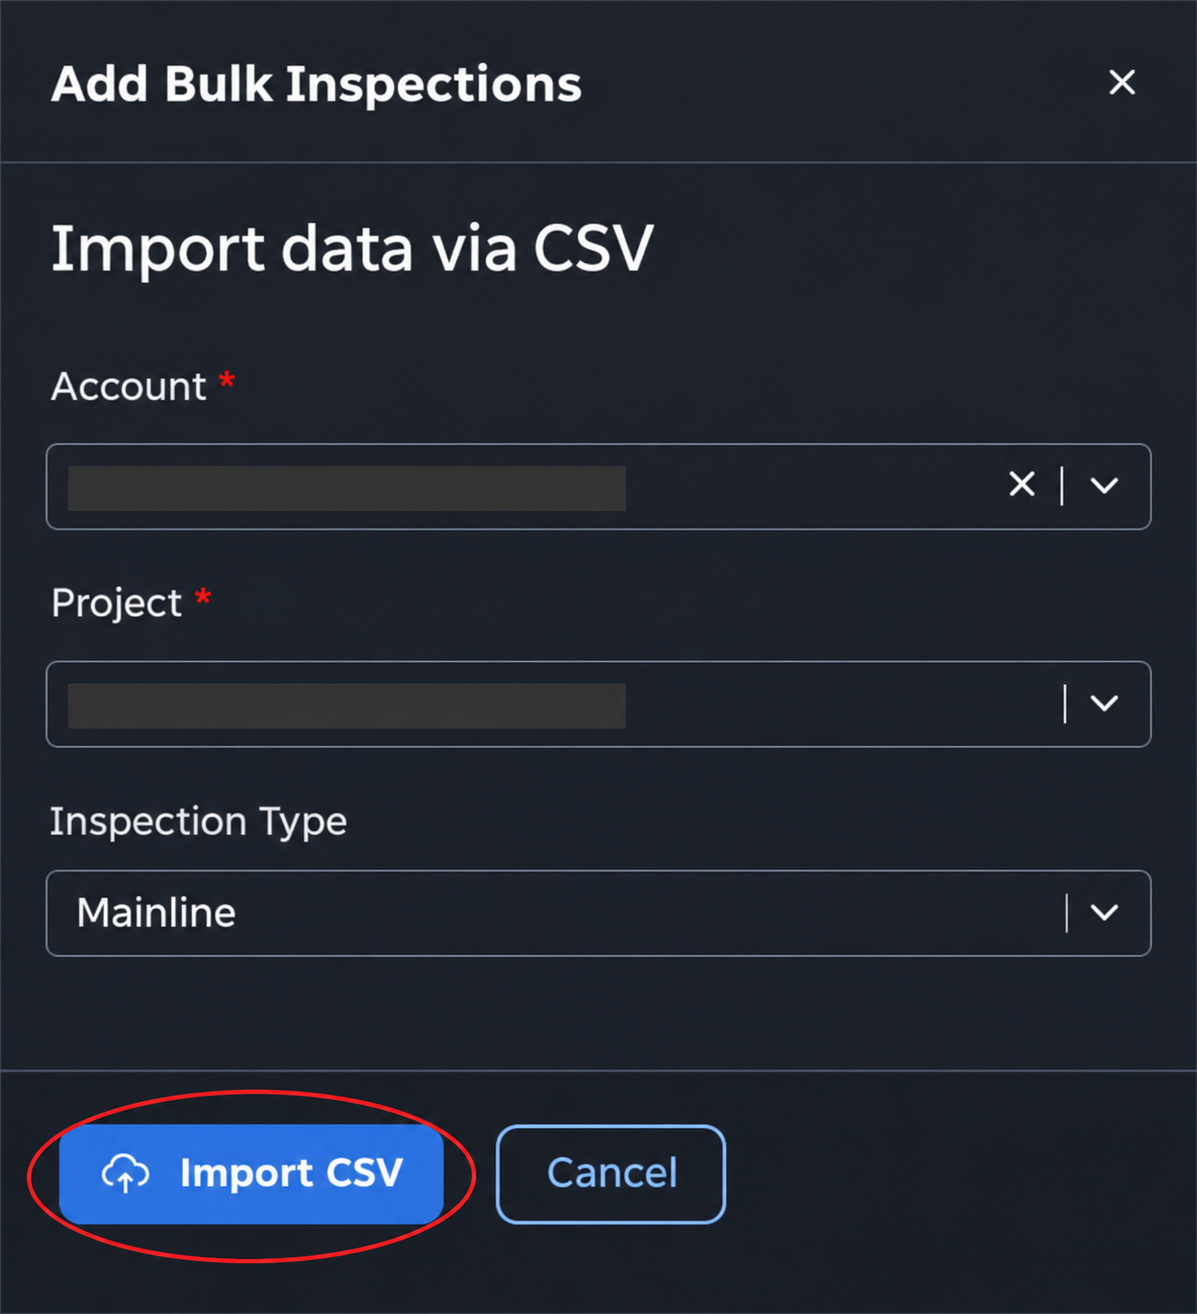
In Add Bulk Inspections, choose the account and existing project containing the inspections.
Choose the matching Inspection Type.
Select Import CSV.
1. Upload Your Edited File
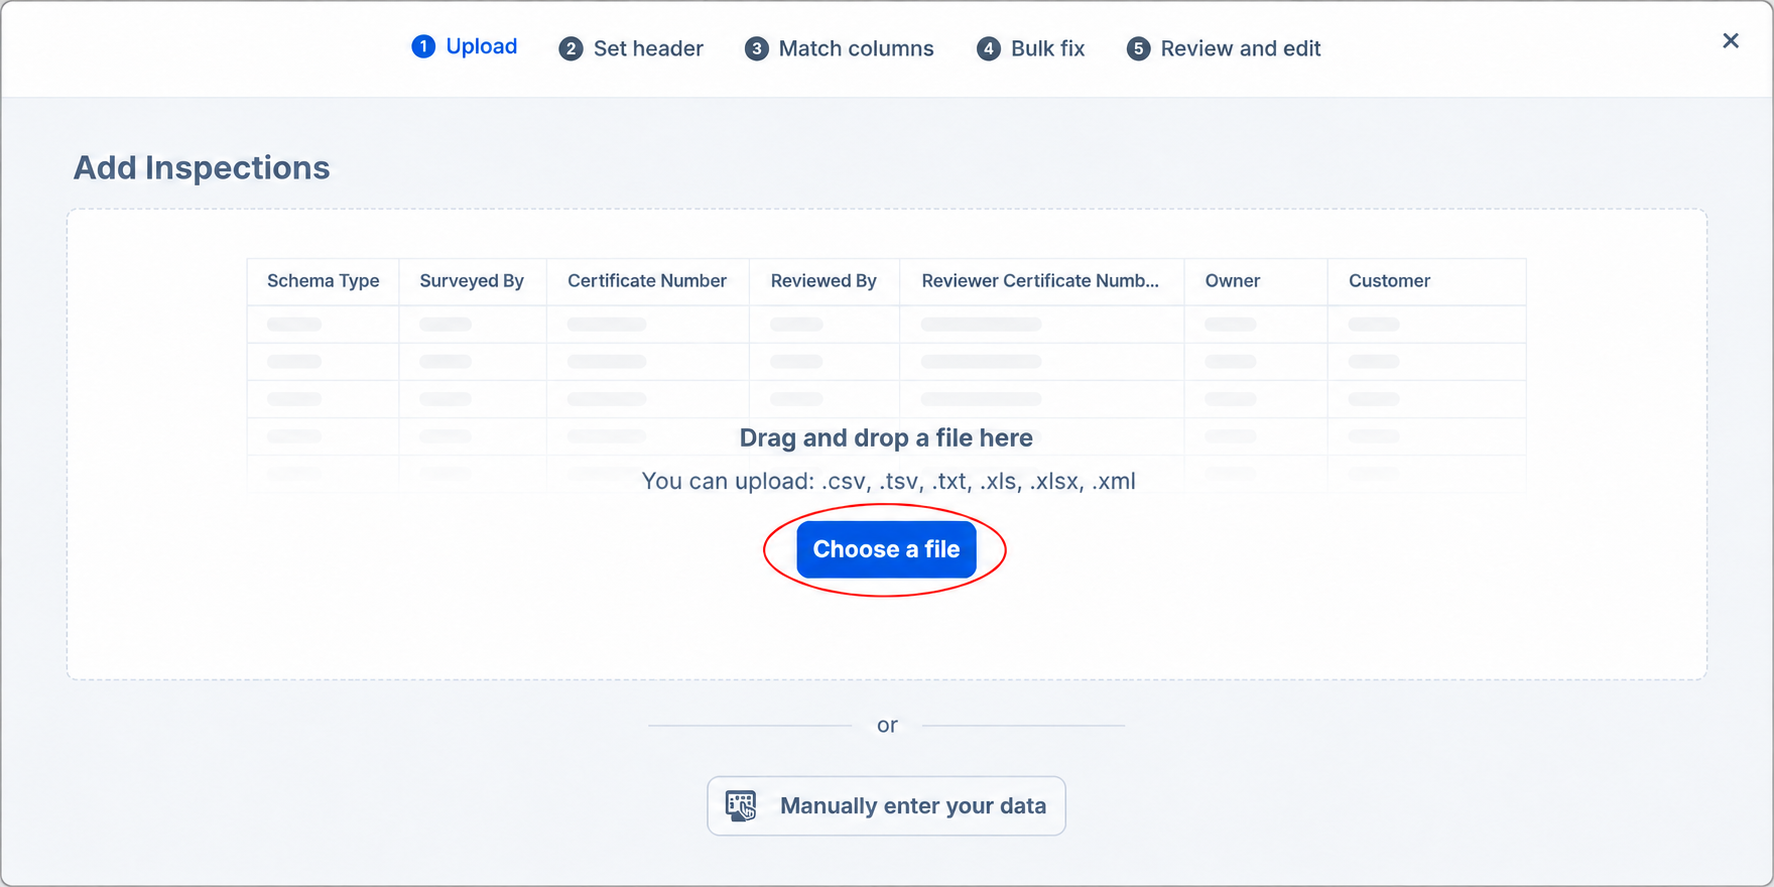
Select Choose a file and open your edited CSV, or drag the file into the upload area.
2. Set the Header Row
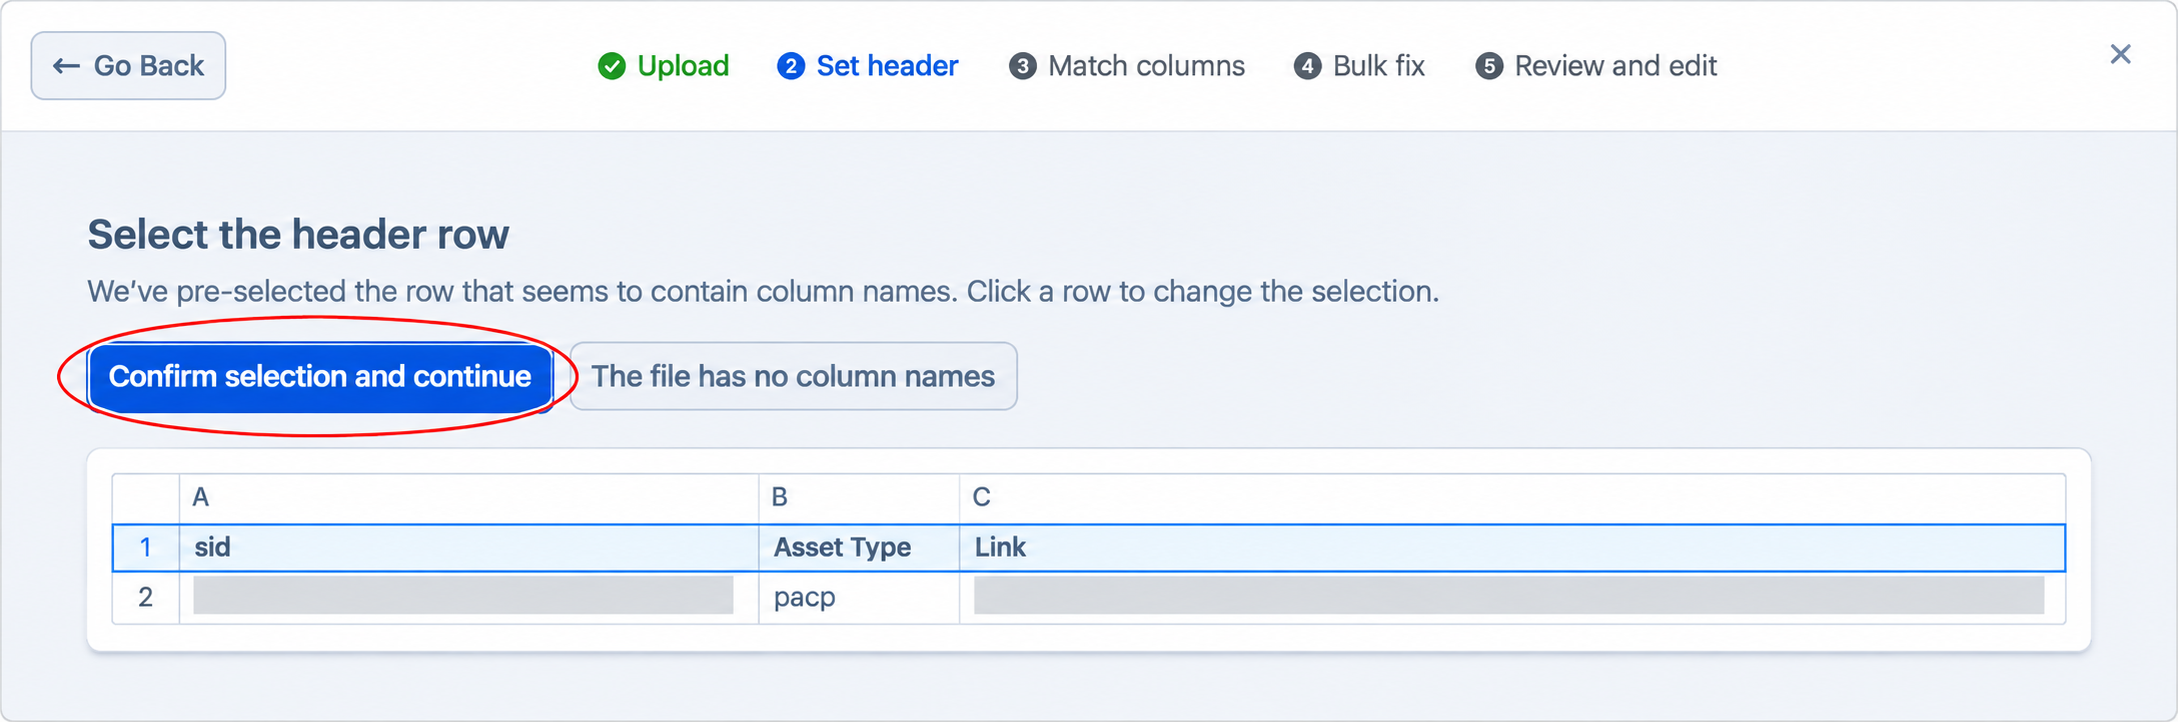
Check that the selected row contains your column names, including sid. Select Confirm selection and continue.
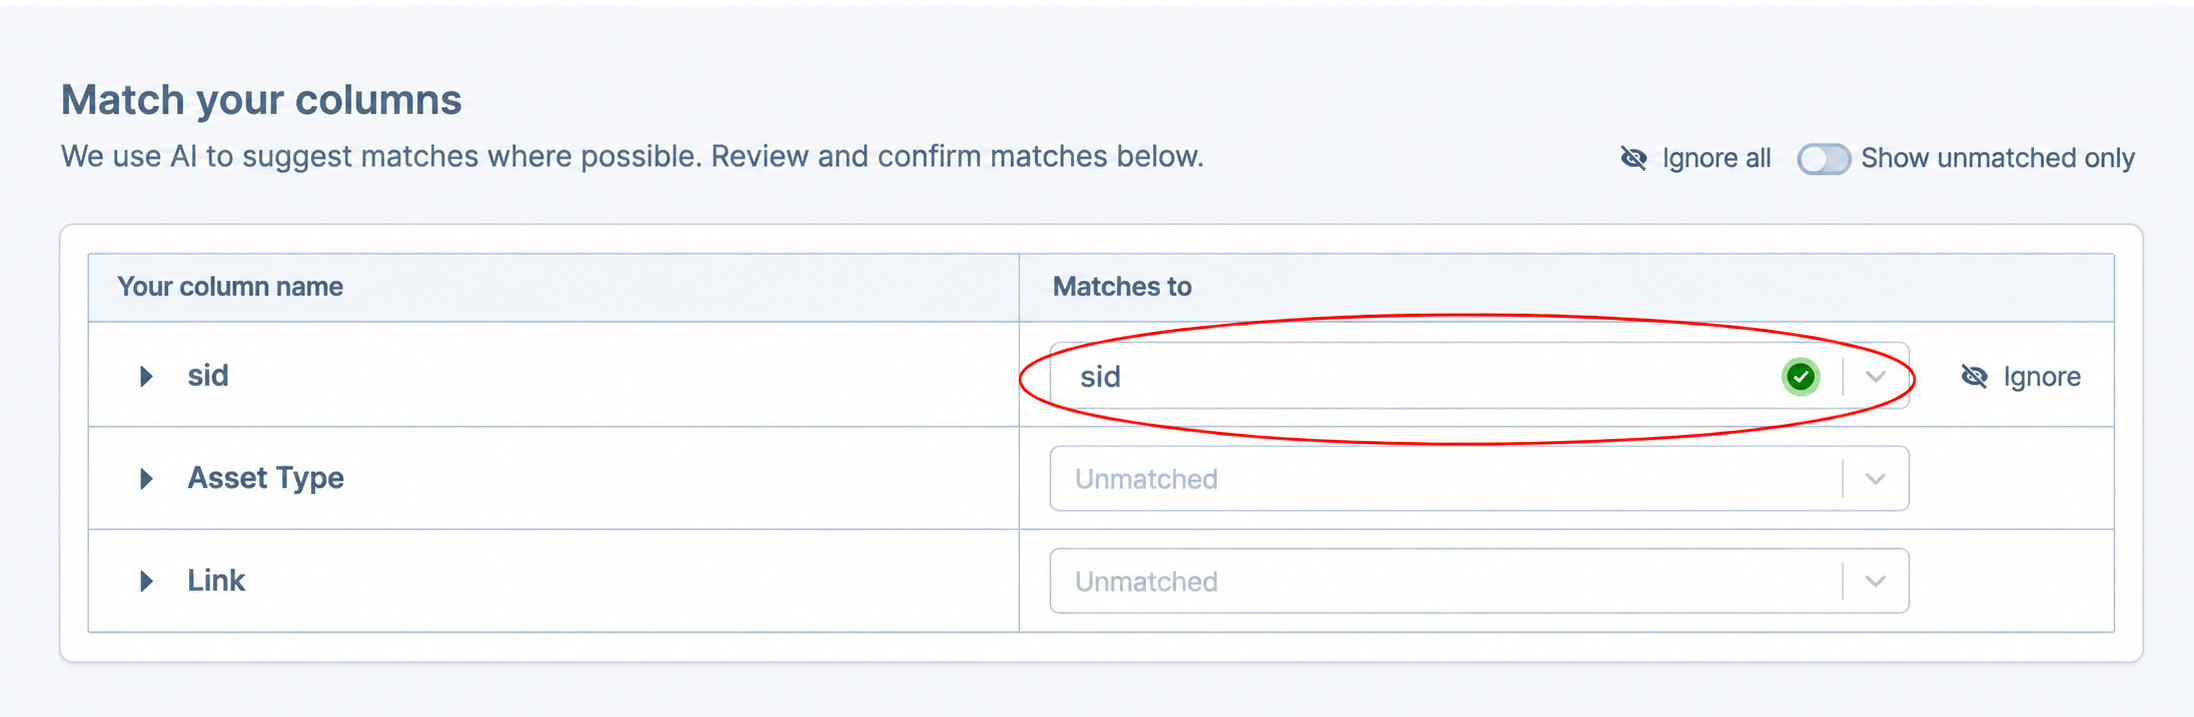
3. Match Columns
Confirm that sid matches to sid.
Check the destination for every field you intend to update.
Select Ignore for unrelated fields that have been matched. Leave only sid and the intended update fields mapped.
Select Confirm matching and continue.
Review each automatic suggestion. For example, Uploaded Date should not be matched to Date Cleaned, and Account should not be matched to Owner. Remove unrelated export columns from the file or ignore them here.
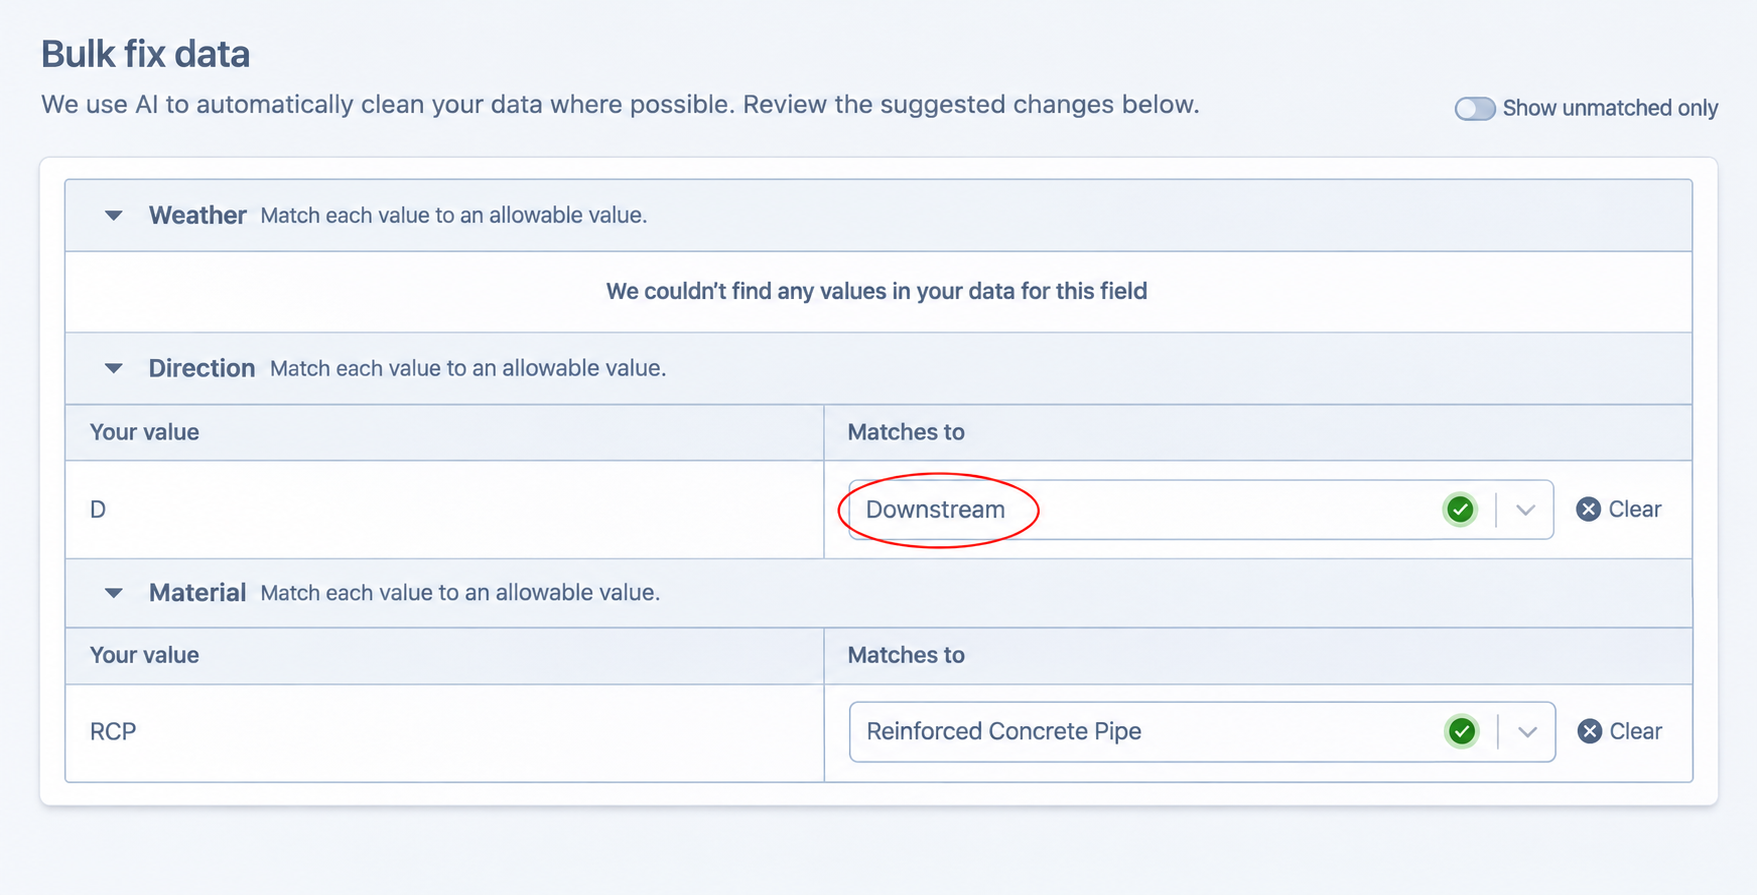
4. Review Bulk Fix Suggestions
Check the proposed value matches for coded fields. For example, D may be matched to Downstream and RCP to Reinforced Concrete Pipe. Correct any unsuitable matches, then select Continue.
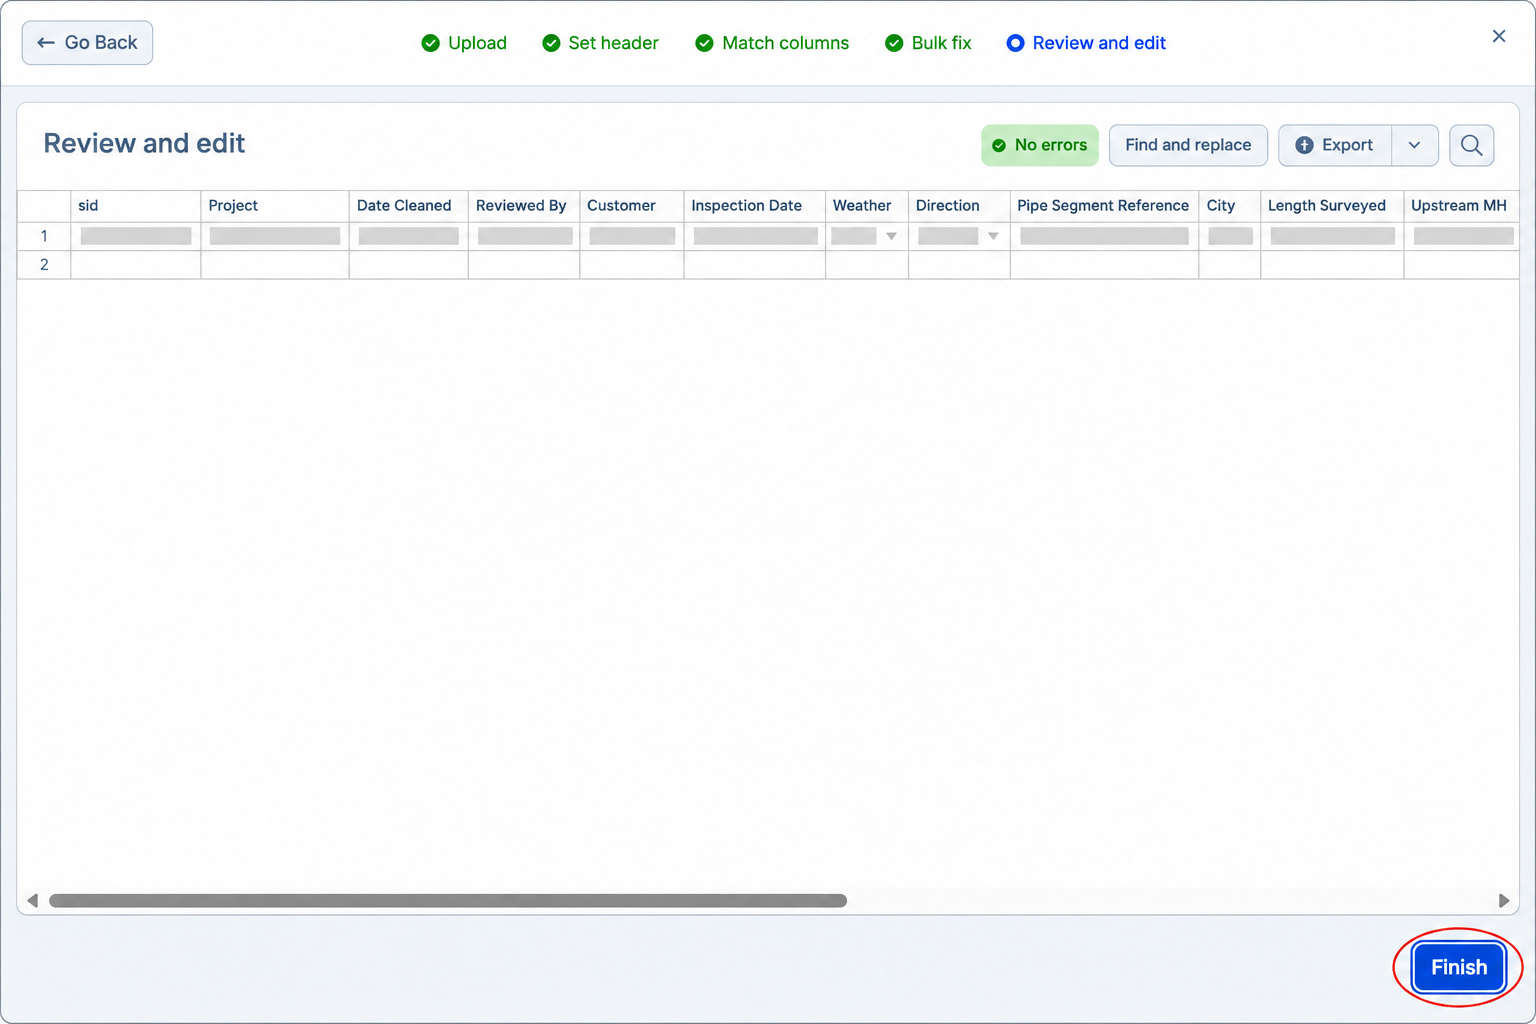
5. Review and Finish
Check that the rows identify the inspections you intended to update.
Check the destination fields and replacement values. Use Go Back if a mapping needs correction.
Resolve any validation errors shown.
Select Finish when the update is correct.
No errors does not confirm that your column matches are correct. Check those matches and values before selecting Finish.
Check That It Worked
Start with a small update. Open the affected inspections and confirm the replacement values, sid values, and number of inspection rows before continuing with the rest.
If the Import Reports a Failure
A failed import can still save some rows. Check the affected inspections and contact Support before retrying. Include the exact error and inspection links so the saved and failed updates can be identified.
Video Walkthrough
This recording uses earlier export and upload menus. Follow the written steps above for the current controls, SID mapping, file size, and import checks.
Related Articles
Still Need Help?
Use the chat widget in PIONEER to contact our support team.
If you cannot access the chat widget, email help@sewerai.com.